Tips & Tricks
To be able to mount your pcbs we need to know where to place the components present in your BOM.
This data is provided in the so called parts centroid, component placement or pick&place file, which contains component placement data. Information regarding the position and orientation for every reference designator on the printed circuit board are present in this file.
This file is required for automated placing of components on the circuit board and it is mandatory in order to proceed to place an order at myProto. Below you read how to generate this file with Eagle.
Download the Eagle software and create a free account.
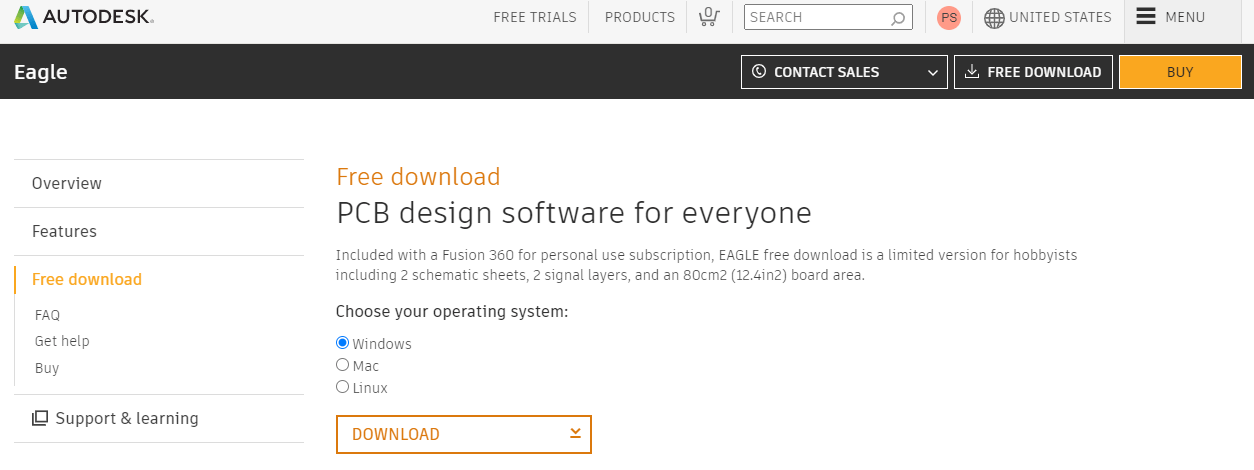
You might have to create a free account and sign in with password and 2-step authentication upon opening the software.
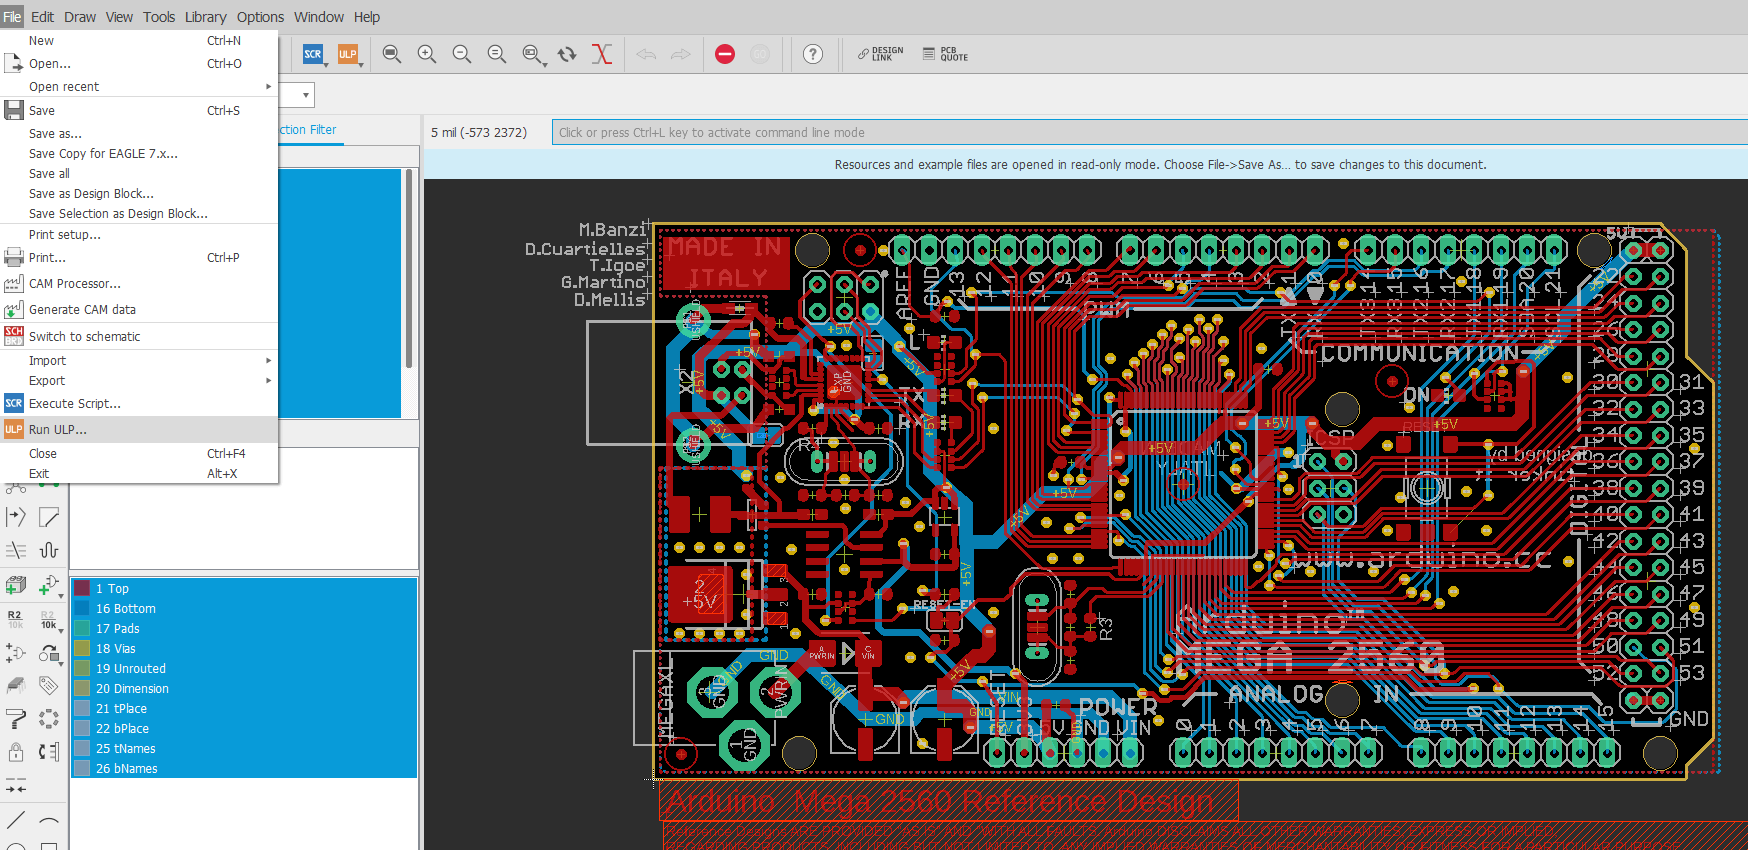
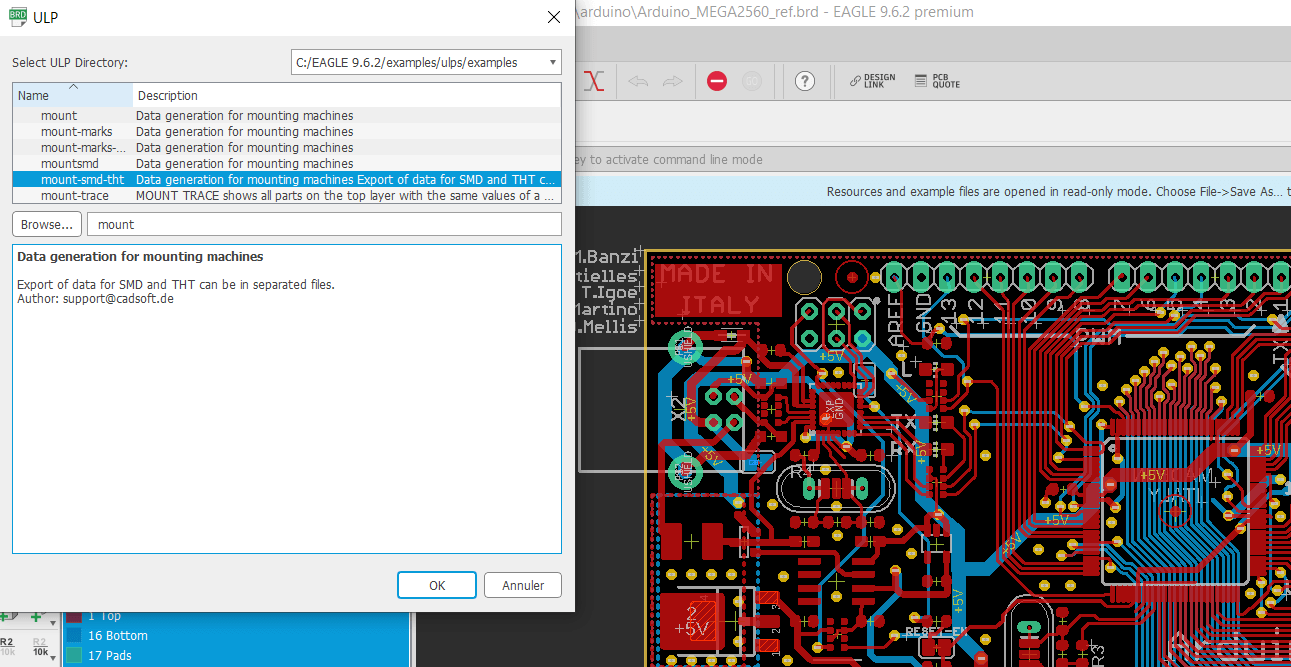
Browse for the « mount » ULP : SMD and THT
When you click OK to execute you get this screen :
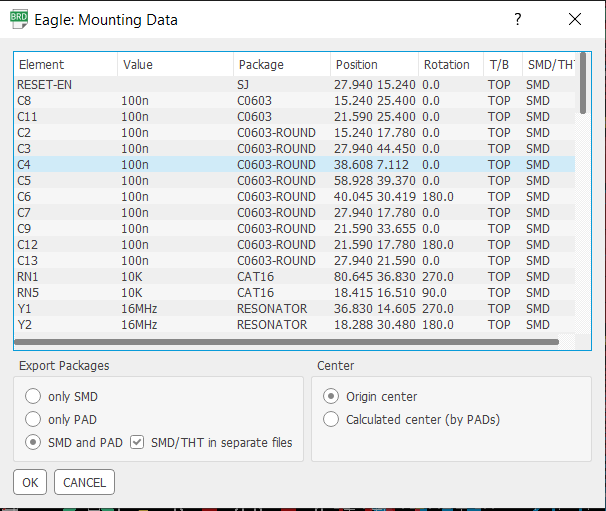
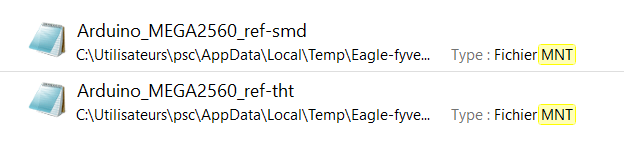
The centroid data for surface mount and through-hole components are exported in 2 seperate files. Merge the two files into one and your Pick&Place Parts-Centroid is ready.
Get in touch with our support team. We will contact you within the next 24hours.
Member of


🔧 Platform upgrade in progress – Stay connected!
We are currently upgrading the myProto platform to serve you even better. In the meantime, feel free to email us your project files (BOM, Gerber, Centroid, Lead Time & quantities) directly at 👉 quotation@myproto.eu.
We’ll be delighted to provide you with a quote as quickly as possible!
You can of course still use the current version of the platform if you prefer.